
If you are experiencing connection issues such as lag, it's useful for our team to see a result of a traceroute ran to our servers. This way, we can see if there's any packet loss, for instance, or other issues that may lead to problems such as lag. Here is how you can run a traceroute on Windows, macOS, and Linux:
How to run a traceroute on Windows
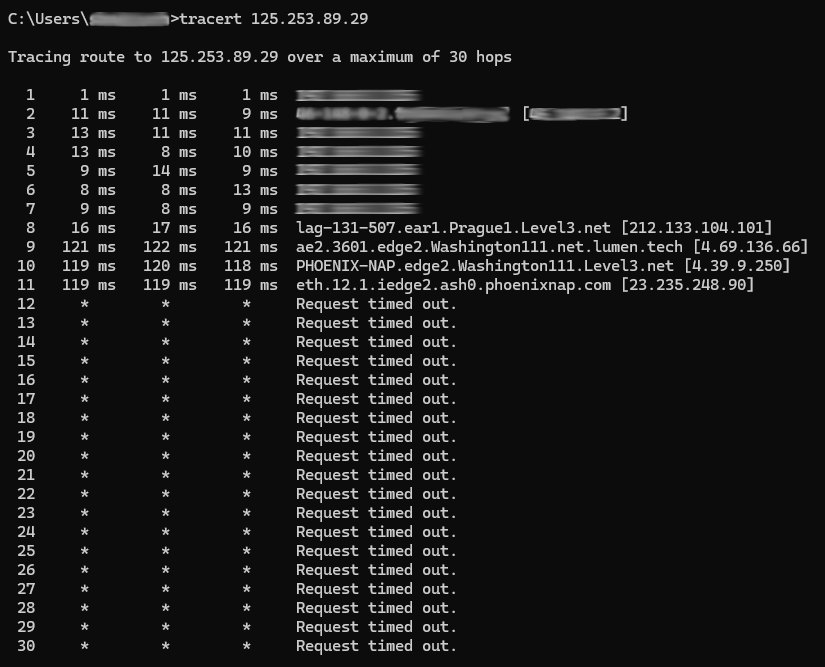
1. Open the command-line prompt: you can do this by pressing the Windows Key+R and typing in 'cmd', or typing 'command' in the Start menu
2. Input the following line directly after your username: tracert bitcraft-early-access.spacetimedb.com and press Enter
3. After some time, you will see the results, similar to the screenshot below:
How to run a traceroute on Linux
Depending on the distribution you use, the specific steps to take may be slightly different, with some distributions opt for similar tools like mtr and tracepath. Generally speaking you can get traceroute to work using the yum (yum install traceroute) or APT (apt-get install traceroute) package managers. From there, the steps are similar to Windows:
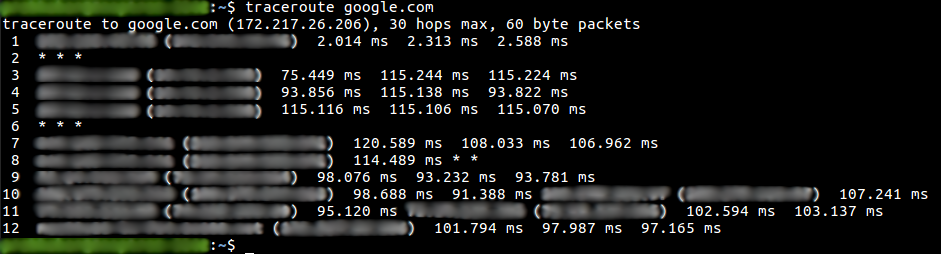
1. Open your Terminal Emulator unless you're running Linux without a window manager (GUI)
2. Input the following line: traceroutet bitcraft-early-access.spacetimedb.com and press Enter
3. After some time, you will see the results, similar to the screenshot below:
How to run a traceroute on MacOS:
The steps here are not much different from either Windows or Linux, and they are as follows:
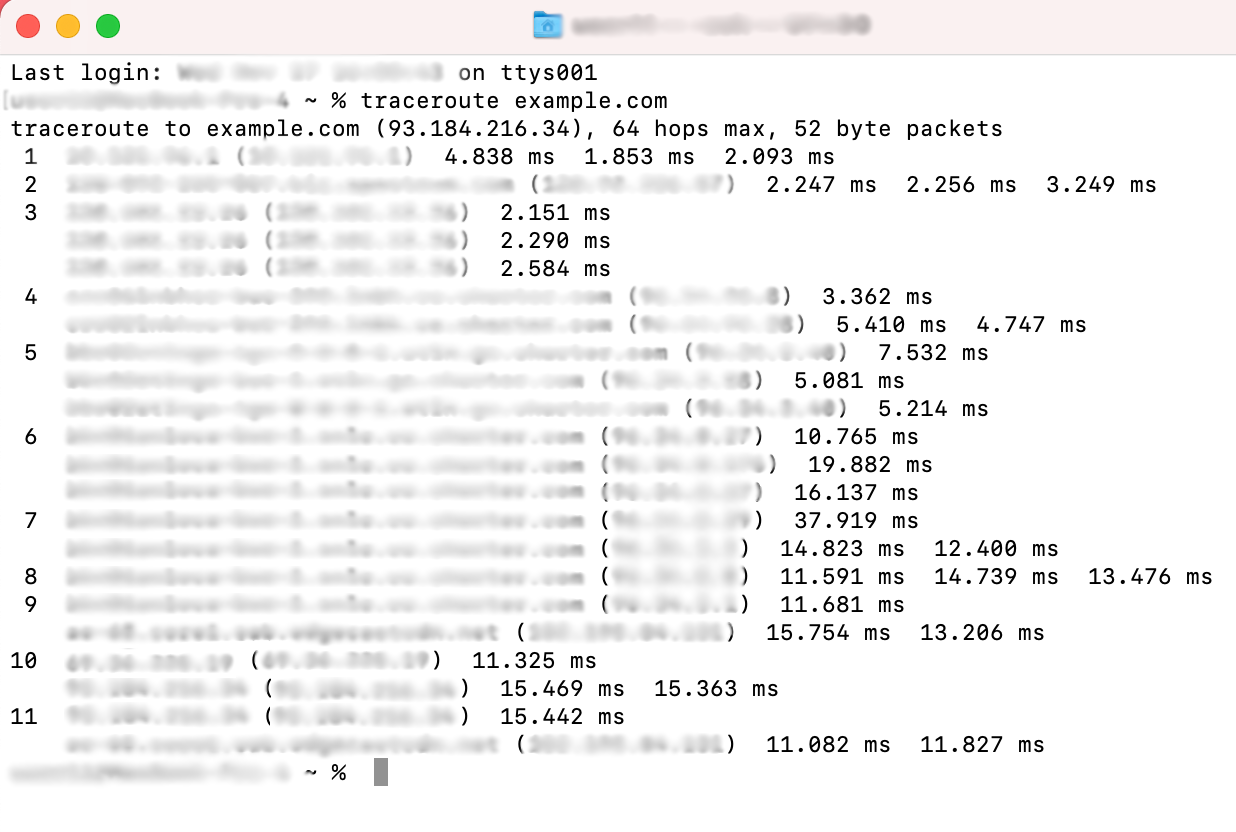
1. Open the Terminal app
2. Input the following line: traceroutet bitcraft-early-access.spacetimedb.com and press Enter
3. After some time, you will see the results, similar to the screenshot below:
Once the traceroute is finished, please take a screenshot of the results and send it over if requested by our support team.